French provincial bookcases – Ikea hack

ikea hack french provincial bookcases

Ikea hacking is a topic I have very mixed feelings on. For instance: why buy something that’s lower quality, and then spend a bunch of time, money and effort to make it look expensive? Why not just save up for the expensive thing, which, if it’s truly worth the money, will last you a long time?  Or, you know, just be happy with the cheap thing?

I feel like I have a good reason (maybe everyone thinks that? I bet they do). Mario and I picked this bookcase for his bedroom when he still lived at home (to display his impressive DVD collection), at a time when neither of us had much money. We brought it with us when we moved into our house, and it has been in our “study” (junk room) ever since, lurking in the corner and not fitting in with our decor.

I feel like this is probably an experience many people can relate to. The good ole Billy Bookcase is so reliable, so customisable. So cheap. But it was just too big and dark for the *perfect* vision of my future study that I had in my head. So, long story short, the other weekend I decided to chop it in two and give it a makeover. What did I have to lose, right? (Actually many people pointed out that I stood to lose my fingers, but guess what – I didn’t!)

billy book case

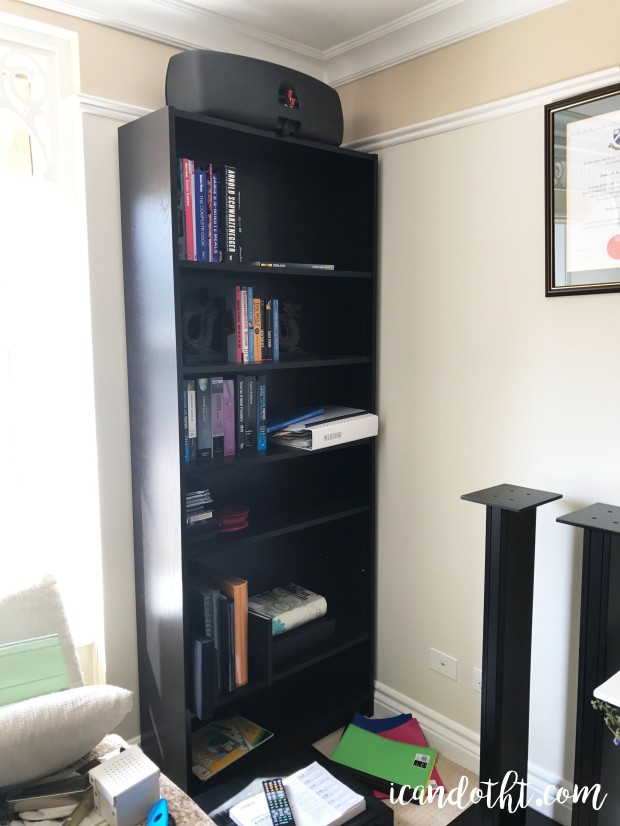
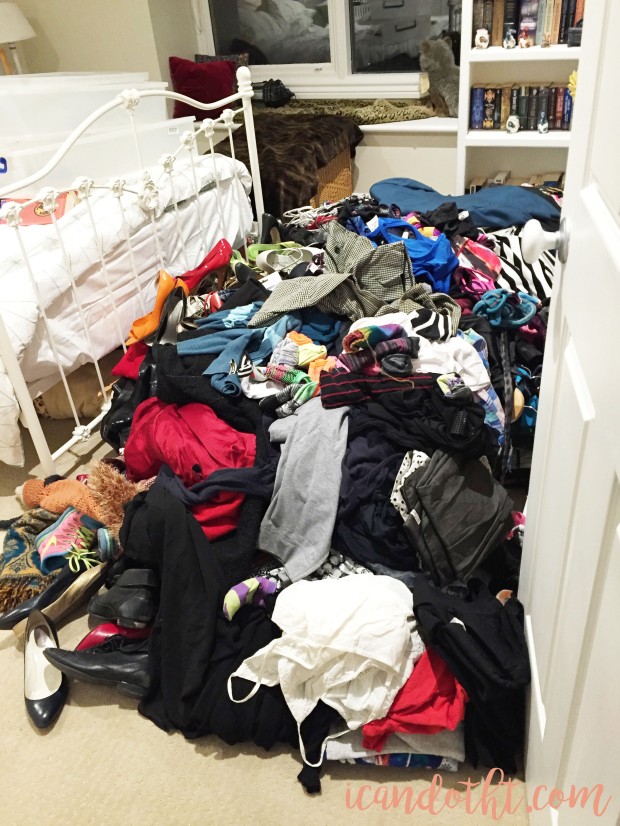
This before photo is so horrifying, I’m sorry. It was taken mid-“rearrange the entire room” phase. 

I decided to go for two shorter bookshelves for a couple of reasons. One, I felt like the original bookcase was way too high for the room it was in – it just seemed to dominate. And two, having two half-height bookcases means that I can display things on the top, which adds a bit more dimension to the room.

I looked at a LOT of inspiration for the final design I wanted. I didn’t want to spend too much money (ha, that backfired), but I wanted a finished project that was sturdy, professional and polished. The style in our house has sort of an eclectic rustic/modern french farmhouse feel (yes, I know that makes no sense. It’s real though), so I wanted the bookcases to fit with that. I knew I wanted them to be white too, because I am all about making spaces feel bigger at the moment (this follows on from repainting our entire bedroom white last month).

IKEA HACK BOOKSHELF

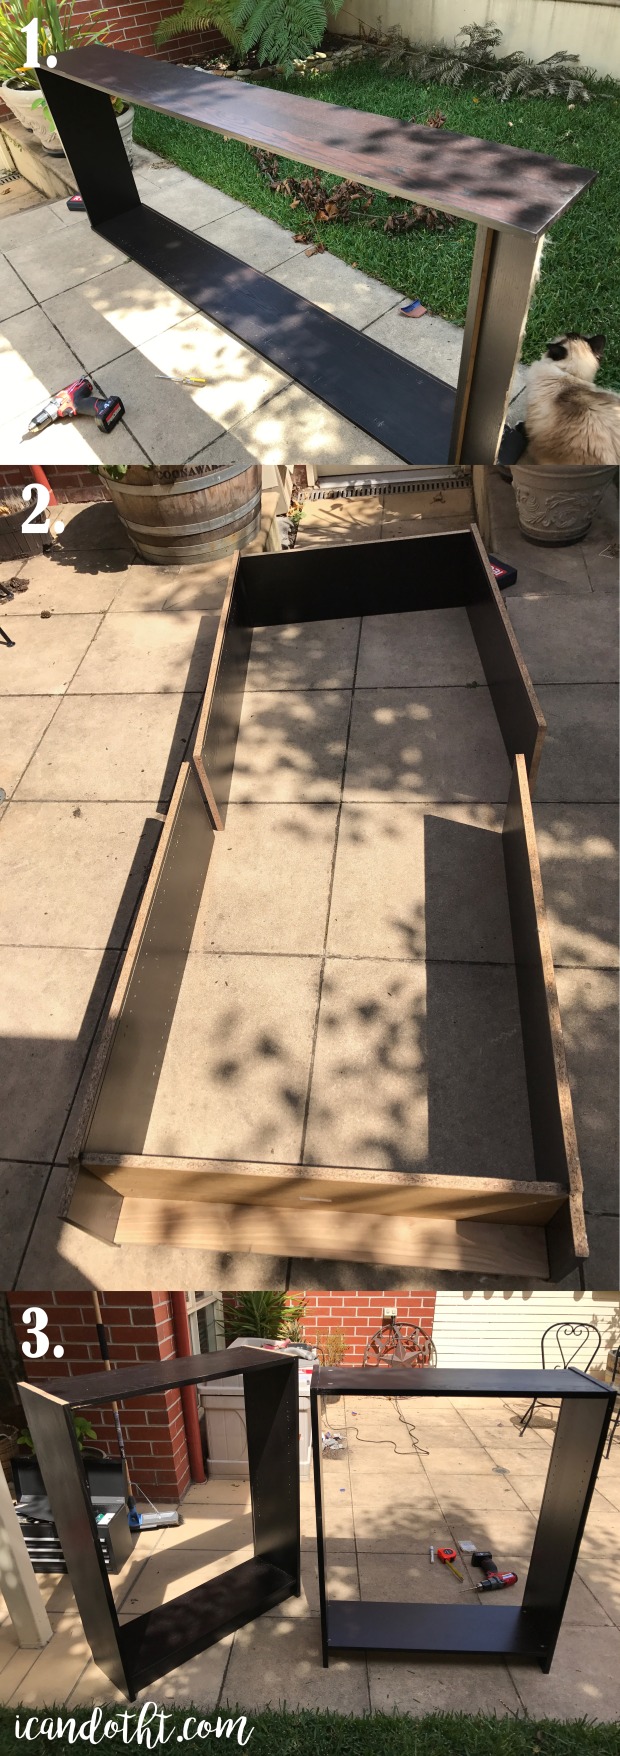
So as you can see, Steps 1, 2 and 3 involved removing the shelves and backing, and cutting the bookcase in half. I measured it first, obviously. I screwed in a new top and a new bottom to the respective halves, but not before I managed to hit my head about 3 times (don’t ask – I can’t remember).

ikea hack bookcases

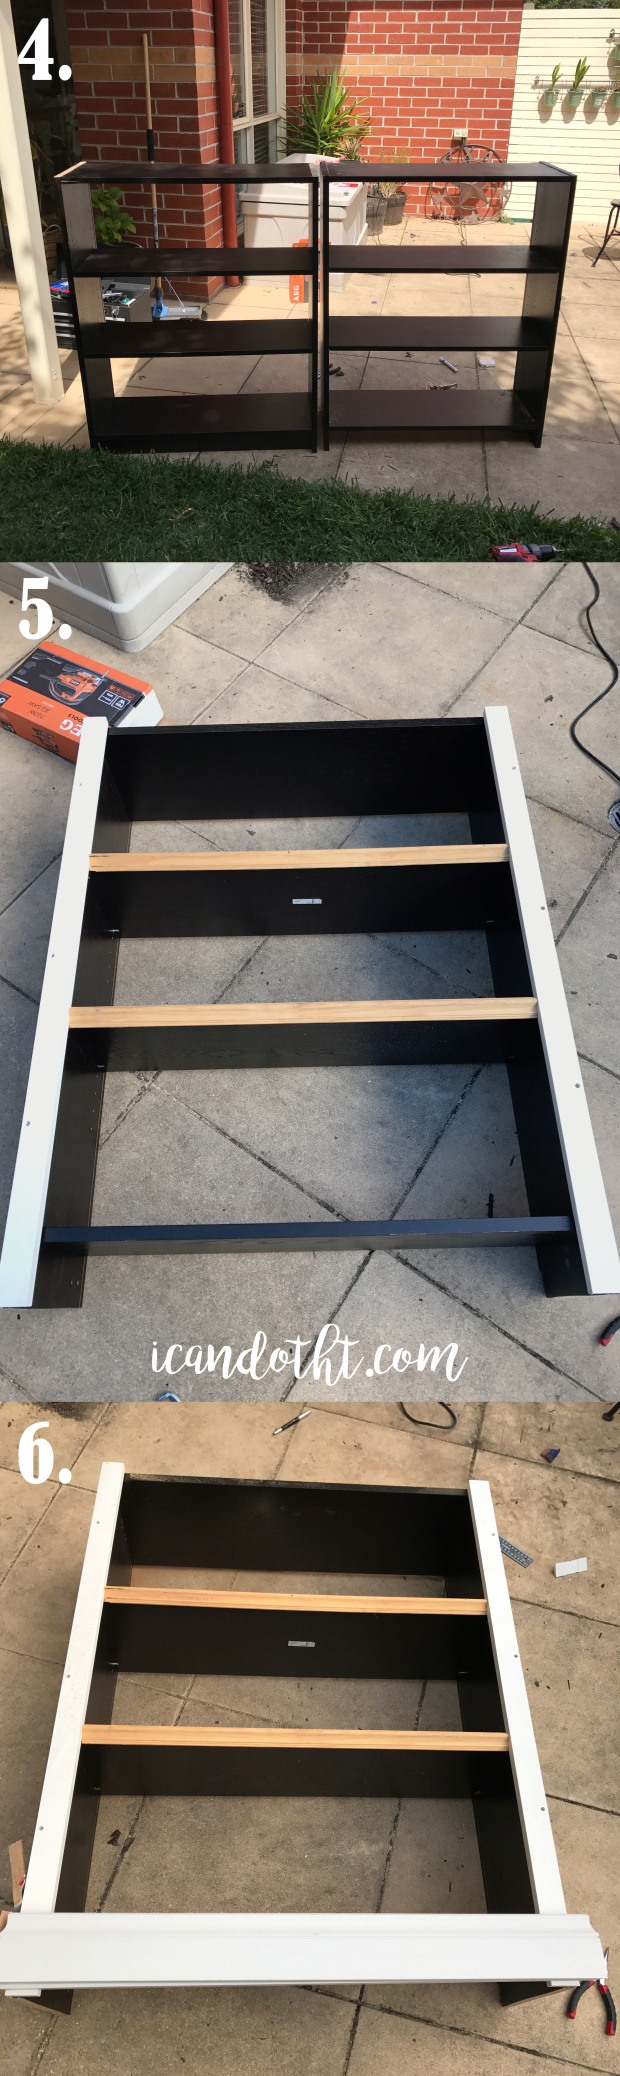
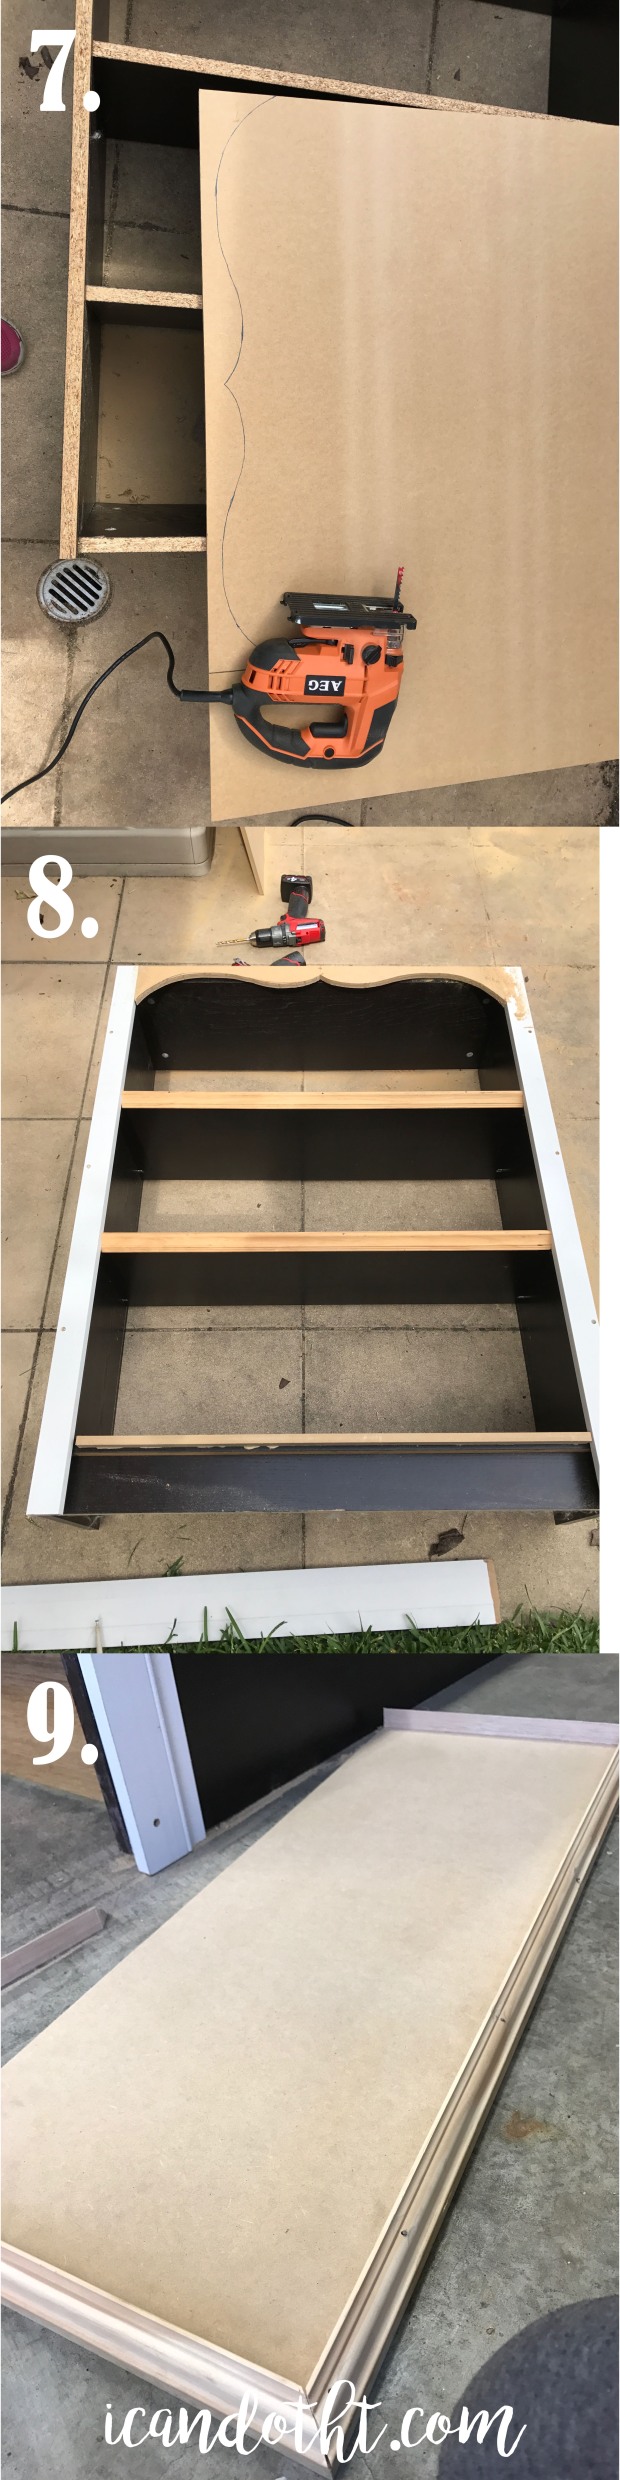
For Steps 4, 5 and 6, I put the shelves in at the heights I wanted, and screwed them in using chipboard screws, and then started adding the trim. The shelves can no longer be moved, but luckily I am happy with the heights I chose (so far…). I countersunk all the screws so they would be invisible at the final stage. I got to use my amazzzzzzing Milwaukee cordless drill and driver that Mario got me for my birthday last year, and they are so so good. The whole project took me around 3 days, and I didn’t have to recharge them once. Plus they are so light (useful for someone with no upper body strength) and a perfect size for my hands. Ugh I love them so much. One of the best (and most useful) presents I have ever received for sure.

Anyway, the trim I used for the sides was just a cheap melamine trim, and the base was a melamine skirting board. The trim for the shelves was an oak trim, and it was my favourite. I feel like that small addition made such a huge difference to the overall project. I made alllll the cuts with my jig saw (ACTUALLY my Dad’s jig saw, but whatever), which was a little challenging at times. It has a setting to make 45 degree cuts, but without a proper cutting bench, or any clamps, they didn’t always come out perfectly. That’s what sand paper is for right?

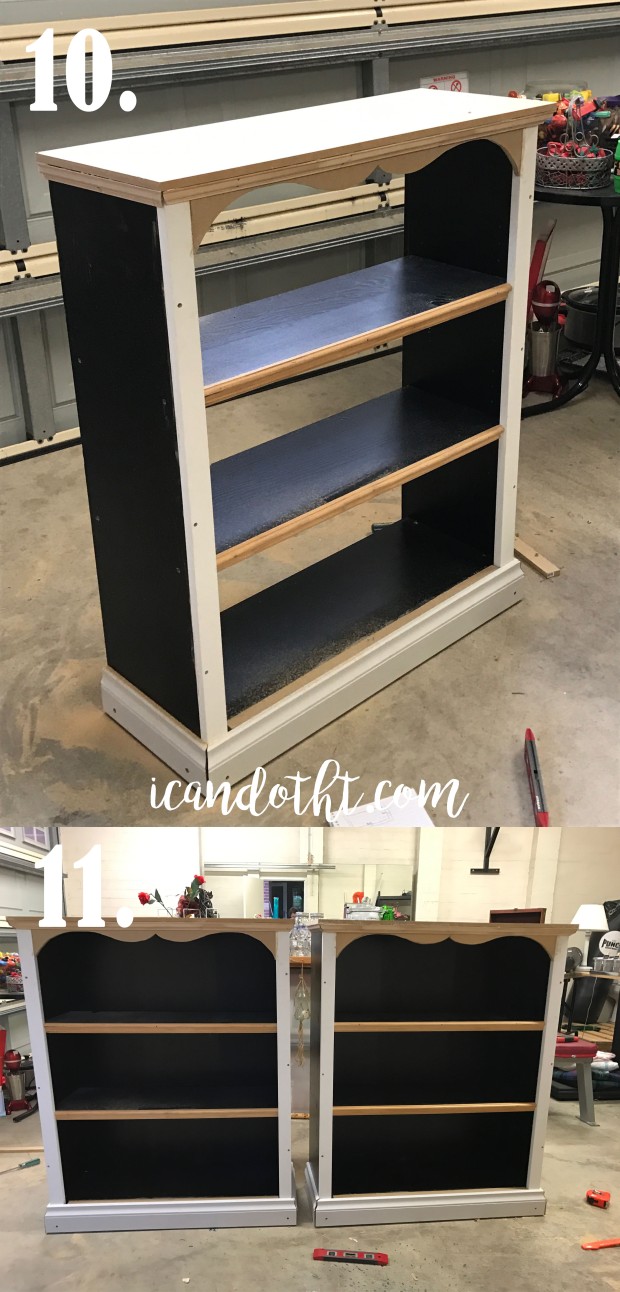
Even more challenging was cutting out the architrave, which I decided I HAD to have. But I reckon I did a pretty decent job in the end…

ikea hack book cases

They started to look so good as I added the trim and the architrave (which I cut out of 6mm MDF that I had lying around).

The final construction step was to create the new tops of the bookcases. I used some oak trim and MDF boards, cut again with the jig saw. You can see from the photo below that my mitred corners were pretttyyyyy awful. I fixed them with putty ;). How good does the (almost) finished product look?! I was seriously so proud of myself at this point.

ikea hack book shelves

For the final steps, I cut the backing in half and nailed in it place, and then… and then. This was the point when disaster struck – the painting stage. After I spent my Saturday night painstakingly filling in all the holes and gaps, I was ready to paint. But. The paint would not stick to the bloody Ikea finish, even after I sanded like crazy. I tried everything – primer, oil paint, spray paint, you name it. Not cool. So, as you can see in the photo below, the inside of the shelves has a sliiiightly mottled look. The paint adhered perfectly to the outsides, the top, the trim and the shelves themselves, which are all the bits that can be seen once there are books on the shelves. I was planning to go back and do something about the rest at some point, but by now I had already spent about $60 on paint and primer, so I knew it was time to take a step back.

ikea bookshelf final

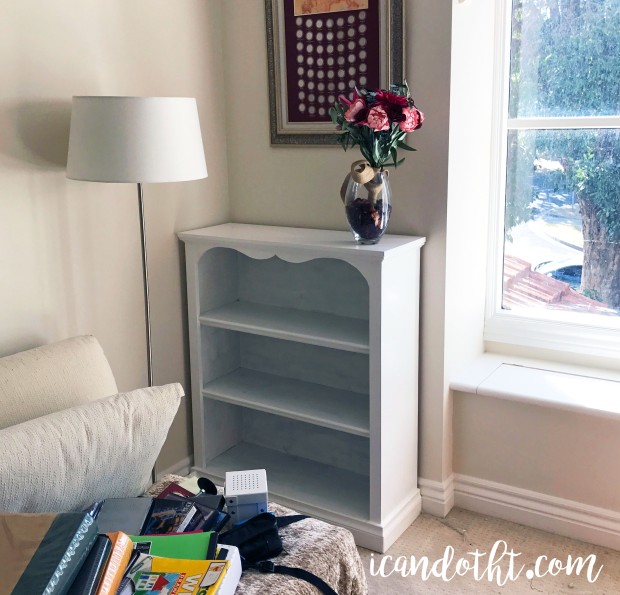
Once I started to put the books in, the paint issue really didn’t bother me anymore, because you just can’t see it. I might still try to touch it up in future, but for now I can live with it.

I can’t show you a really good after photo of the two bookcases in their final locations yet, because I want to do another post about the finished transformation of my lovely study. But I am planning to share that in the next few days, so you won’t have to wait too long :).

ikea-hack-french-bookcases1

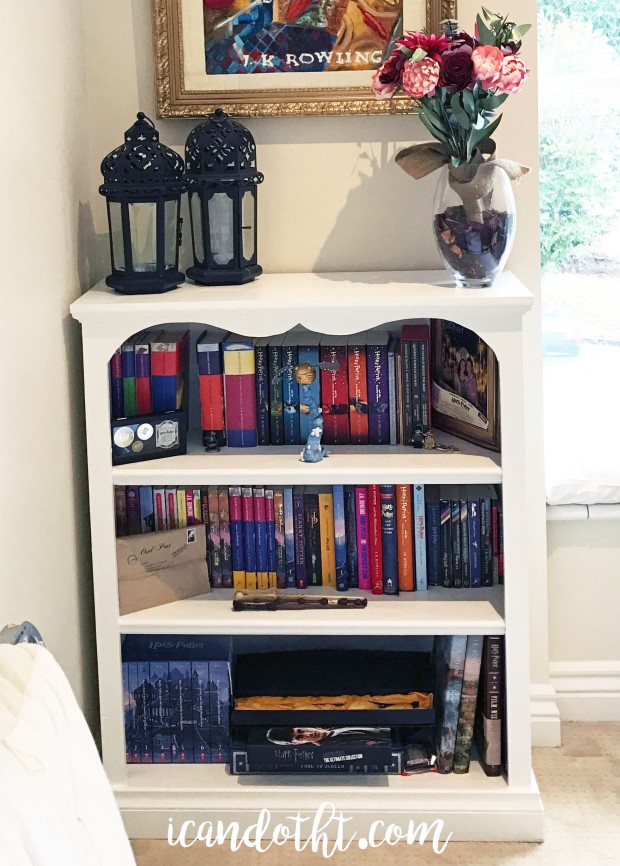
So what do you reckon – was all the effort worth it? I think so – I love my new bookcases, and I am not-so-secretly thrilled that I made them!! I feel like they look so good, and they work so much better in the room this way. Plus, I was able recycle our old bookcase – kind of hard to believe that it’s still the same one, isn’t it? I think I have to give a thumbs up to my first serious Ikea hack.

What did I miss?

marie kondo books

So despite my resolution to blog more in 2o17, this is only my second post for March… *sigh*. BUT, I have actually been so so busy doing creative stuff, and I have so much to share with you that it’s not even funny. Right now I am writing my blog in my lovely new home office/study (former junk room), and it is so pretty. It took a lot of work to get it looking exactly how I want it, but now it is perfect. I am going to do a separate post on the room transformation, so stay tuned (the before pictures will give you nightmares).

Mario and I have been on a bit of a minimalist kick in recent months, ever since I read The Life Changing Magic of Tidying Up, and he started listening to the Minimalists podcast. Despite my extreme annoyance with the Minimalists’ sanctimonious attitude, I agree with a lot of what they have to say.

marie kondo

This is me Mario Kondo-ing my clothes. You have to collect them all together in a big pile first – I guess to make you feel ashamed and horrified by how much stuff you have? It worked. 

marie kondo folding

This is the fun folding and organising stage. 

marie kondo books1

Then I did my books – I didn’t manage to get rid of many, but then again, I do love my books more than most things in life! 

Long story short, a couple of weeks ago we decided to do a HUGE cleanout of our house and hold a garage sale. We gave ourselves one week to purge all our stuff, and boy did we ever get in to it. It was actually incredibly cathartic, but also horrifying how much stuff we managed to compile to sell – things that had been hidden in closets for a really long time, and also things in plain view that we loved, but that no longer fit in our lives for one reason or another. We found a lot of things that we were holding on to for bad reasons – mainly guilt. It felt good to let those things go.

Garage sale 1

OMG so much stuff :(!

The garage sale was a big success, although we still have some stuff to get rid of. We are thinking of having another sale in a few weeks, and then donating what is left (in the meantime, our garage looks like the room of requirement).

garage sale 2

When you make too many things and have to sell them!

The feeling of freedom and organisation once we finished decluttering is amazing. I had felt the mental weight of all that clutter, and it feels lovely to be free of it.

garage sale

Our garage looks like a shop

I have felt so much more motivated and creative since we did this big cleanout, hence why I have been working on lots of stuff. It also allowed us to (finally) put our study to its proper use. For a very very long time it had been the ‘wedding’ room – first the room where we stored things in preparation for the wedding, and then the room where we kept all the leftover stuff from the wedding!

Anyway, that’s all for now – just wanted to reassure you that I am still alive and that I have a lot of projects to share with you, which I will start doing very soon. Ta ta for now! x

Scrappy fabric cat bows

scrappy-fabric-cat-bows

Due to my well-known status as an inveterate cat lady (or barren baby-hating witch* to my friends), I like to expend my excess maternal energy on my cats (which they just love, let me tell you).

*Note: I don’t actually hate babies. I actually quite like them when they belong to someone else, and have even been known to call one cute (shh don’t tell anyone). I can’t refute the witch thing though.

luna-cat-bow1

Continue reading

My (DIY)(Paper) Wedding Bouquet

my-wedding-bouquet

Let’s talk bouquets – as I think I have (possibly repeatedly?) mentioned, I made mine, and it was great (the process, I mean, not the bouquet). Not to blow my own horn, but I also think that the bouquet turned out pretty awesome, a fact for which I am thankful. 

At what point in the wedding planning process did I decide to make my own bouquet? I can’t really remember, but I think it was very early on. I had to put up with a lot of doubting Thomases too. “You’ll be so stressed”, they said. “Real flowers are nicer!” “You’re a control freak who is unable to relinquish control over the smallest details of your life and one day you’ll have a breakdown”… You get the picture. Continue reading

Raise your voice


We are living through dark times. There are a lot of moments where I feel like we are going backwards, and that all the struggle is for nothing. That being said, I felt such a sense of solidarity, joy and optimism seeing women come together to make their voices heard over the weekend. It was such a beautiful thing to see the many women’s marches around the world totally eclipse the inauguration – this weekend, love undoubtedly trumped hate.

the-future-is-female
Continue reading

Two days in Florence

two-days-in-florence

Part of our travels last year took us through central Italy, and we were lucky enough to stop in Florence – Firenze – for a couple of days. Both Mario and I had been to Florence before, but we were still pretty excited to visit again. I’m not going to lie, this time we went pretty light on the artistic and historical aspects of the city (of which there are many!), instead choosing to focus on, well, food. And wine. And also some shopping. Hey, we were on holidays ok? Continue reading

Love Knots

loveknots

In the months leading up to Christmas, I got a bit obsessed with embroidery. It started when I bought some shiny new boxes to organise all my embroidery floss (I was an avid crosstitcher for many years so I have ALOT). I wanted to branch out from crosstitch and try something a bit more creative, and also learn some new techniques. 

french-knot-initials-embroidery Continue reading

Succulovely

succulovely

Like the rest of the world, I am having a bit of a love affair with succulents. That’s one good thing that came out of 2016, right?? 

I have been trying my hand at propagating lately (growing new baby succulents from old ones), and it’s so fun – and surprisingly quicker than I expected too. I love putting together little planter collections – I have one at work and a couple at home, so now I have started giving them to people as gifts. I made the one in the photos last year for a friend of mine at work.  Continue reading